Guide: Setup data factory to run locally

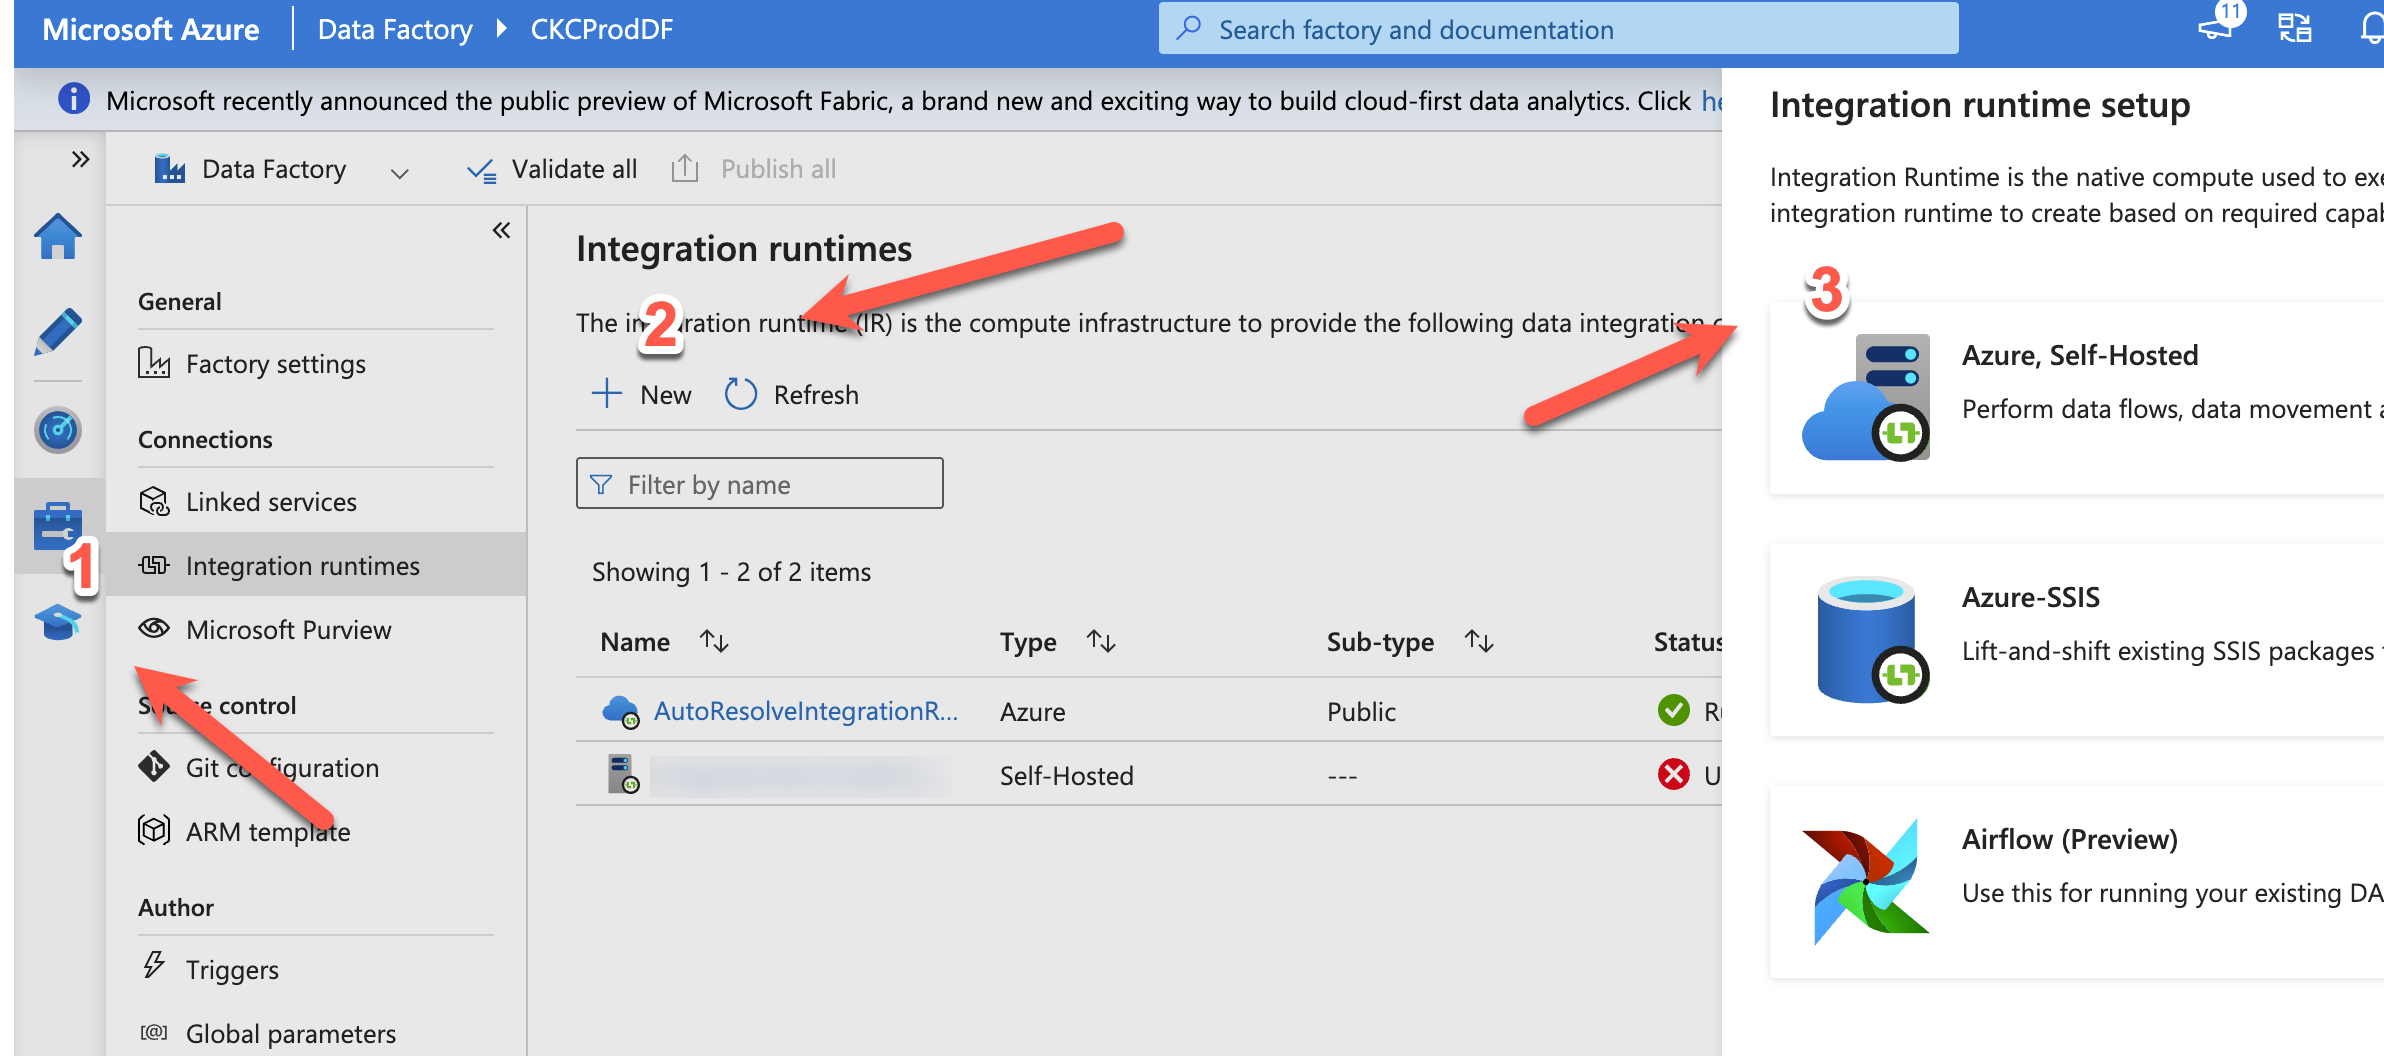
Azure Data Factory (ADF) is Microsofts cloud based ETL tool. It is in many ways, better than their old on-premise ETL tool “integration services”. Luckily, you can easily set up ADF to move data around on-premise. In this blog post, I will show you how 🙂

I will assume you already have an ADF running, and some SQL servers running on-premise (Or on your laptop, if you just want to do it, to test ADF features).

To get started, go to your ADF and

  1. Click the manage menu on the left, click integration runtimes
  2. Click New
  3. Click On, Azure self-hosted

As shown below.

After, click new, give it a good name, and click create.

You will get 2 keys, as shown above(1). Save them a secure place, and click the link with the express setup(2).

When you do the manual setup, you will need the keys. If you just do the express, you don’t need them. After installation, you should see something like this.

We are now ready to use the on-premise resources.

I have a local SQL server with different test databases on it. See below

From ADF I want to copy a table from adventure works to the DWH_DEV database.

To do that, I create a pipeline, and

  1. Drag the copy data task in
  2. Under source, I click new dataset
  3. I click new linked service

And fill in the connection information

Click test, and select the table you want to copy.

Do the same for the destination database and table.

Run the pipeline. You should see a confirmation as below.

You can now copy data with ADF between your databases on-prem, and do all the transformation that is possible i ADF.

You should also be able to do all your testing with ADF as you want, and you dont have to spin up expensive Azure sql servers for all the test databases you want.

I hope this was helpfull 🙂 Enjoy 🙂

Refresh a Power BI dataset from data factory

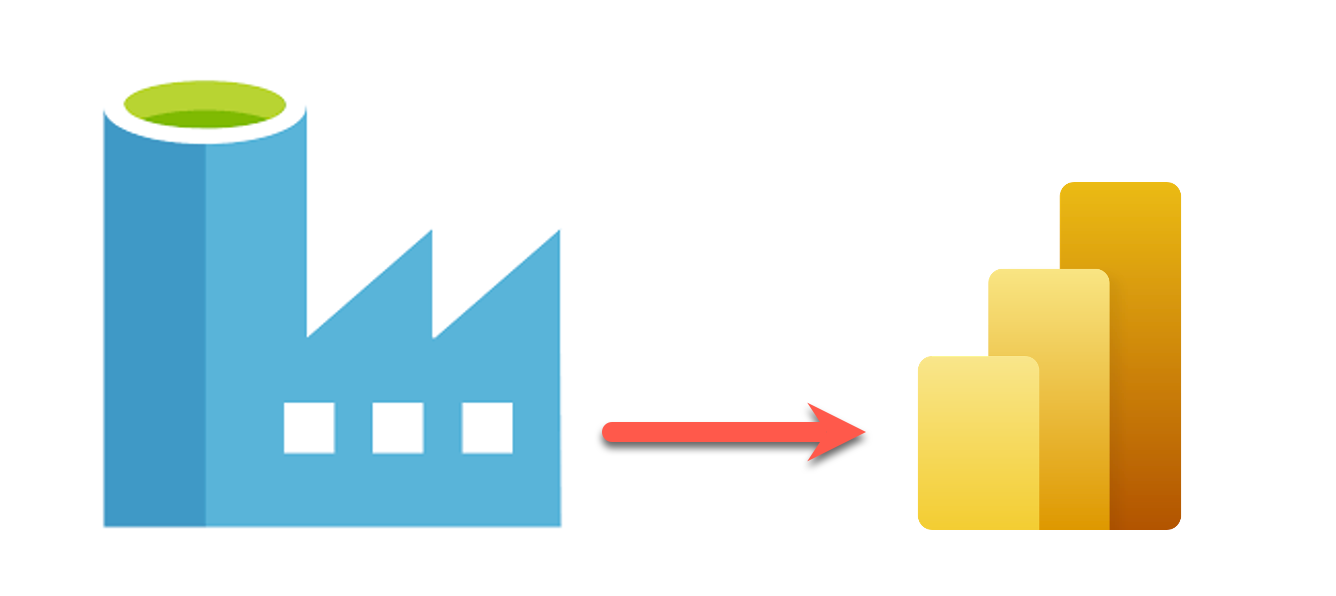
When I have my data model in my Power BI dataset, there are several reasons, I want to update it when I am done with my ETL. Among others:

  • I don’t know how long the ETL process will take over time, and I want to update the dataset as soon as it is done
  • I want to scale down the database after the power BI dataset updates

So in this blog post, I will show how to do it from data factory (ADF).

It is a lot of steps, and I will assume you have access to your Azure portal, already have created a data factory, and have admin access to your Power BI portal.

Step 1 – The Power BI rest API

To do it, we will use the Power BI rest API. The documentation for how to use the update is here:

https://learn.microsoft.com/en-us/rest/api/power-bi/datasets/refresh-dataset-in-group

where you can see it is a post request like this

Where groupId is the workspace ID, and datasetId is the dataset ID.

To find the workspace ID, go to the workspace in Power BI, and check the URL

It is the guid after the group folder.

Click on the dataset you want to update. The dataset id is the guid after the dataset folder.

Step 2 – Allow ADF to update a Power BI dataset

To allow ADF access to update the dataset is kind of tricky, and we have to use the Azure Active Directory. Go to the Azure portal, and click it. It will look something like this

When you click it, you will see something like this.

Go to the groups as marked in the image above.

Click new group, and create a new group, where the group type is security. Give it a good name 🙂 In my example I use PowerBISP. When it is created, click the members, and click add members, and search for the name of your already created data factory, as shown below. The name of my ADF is CKCProdDF.

Step 3 – Setup Power BI

For this to work, we also need to do some setup in Power BI. First, we need to change a tenant setting. Go to the admin portal by clicking the menus shown below:

Scroll down to developer settings, and add your newly created security group. It should look something like shown below:

The last thing to do in Power BI, is to give the same security group admin access to the workspace where you want to update the dataset.

Step 4 – Create the pipeline

And now, we can finally go to ADF and create our pipeline. In ADF, create the pipeline, and drag in the web component, like shown below.

Check the secure input and output boxes.

Go to settings. It should look something like this

  • The URL is the URL from step 1
  • Method is POST
  • Body we don’t need.
  • Authentication is System Assigned Managed Identity.
  • The Resource is just https://analysis.windows.net/powerbi/api

And now, everything should work. Go ahead and validate and run your pipeline.

When the pipeline is done, go to the Power BI dataset refresh history, and have a look.

You should see a successful refresh, with the type “Via Api” as above.

All Done!!!! 🙂

Conclusion

This is kind of complicated to set up. But when it is done, it is nice you can update all the dataset quite easily, by using the same component in ADF. And all you have to change is the 2 guids from step 1.

I hope you will find this useful 🙂